
Panther II.
- Tamas Seres
- Jan 28, 2024
- 3 min read
The German top leadership had concerns about the effectiveness of the armour of the Panther tank. As a result of these concerns another experimental development took place in 1943: the Panther II. Although it has never enetered production a few prototypes were produced.
This wasn't the only attepmt to imporve the Panther, the ausf F variant would have followed the ausf G's in 1945. I have written a little bit more about it when I built my version of the ausf F.: https://www.tankmodels.co.uk/post/panther-ausf-f
The reason I mention this here is because the turret designed for the F variant (Schmalturm) is often confused to be one applied on the Panther II. However, for this version a different turret was designed, but unfortunately none of such turrets survived the war. Actually, the only surviving Panther II. is in the US in Fort Knox with an ausf G turret installed on it. This was added to the tank after the war by the Americans.

(Source: Wikipedia)
However, model companies are usually offering their Panther II. kits with the Schmalturm. Although some say, this turret and main gun wouldn't even work on this tank I have to admit that I find this concept really impressive from a pure modeling point of view.
To build this vehicle I chose this kit: https://www.scalemates.com/kits/cyber-hobby-9103-panther-ii--134789
The kit itself is the standard dragon quality (Cyber-Hobby is the less marketed brand of the same company), hardly any flaws, but nice details, basic PE's and individual track links.
I didn't take photos of the initial steps, as there was nothing to mention. The kit is a nice and easy build.


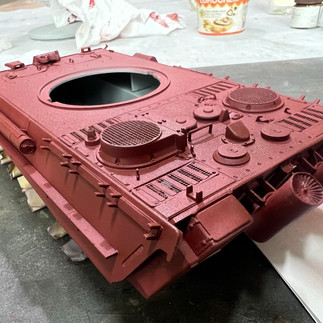
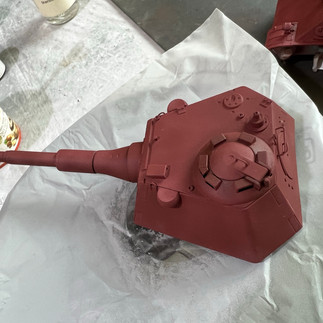
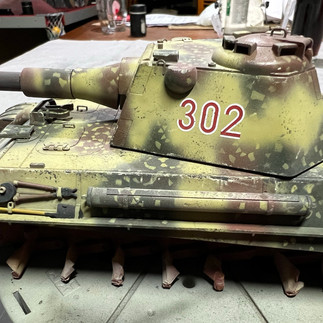
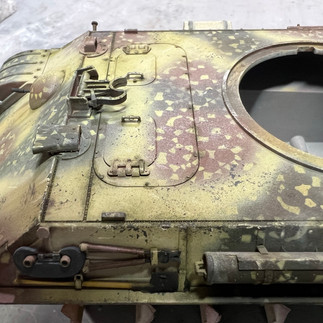
A grey primer from Tamiya was applied on the kit after the main building phase was completed. Then, I changed my mind and oversprayed the model with red-oxide primer and MIG's Chipping fluid so as I can create more realistic scratches and chipping on the tank. Also, as this is not supposed to be a real vehicle I thought it would be a nice touch to leave the barrell unpainted with only the primer covered. (Now, writing this review it just stroke me that I had read somewhere that the Germans only used grey primer on their cannons, while both red-oxide and grey were used for the vehicles. Well, this is what it is now, I don't think I would ever change that on this model. Especially, as I actually quite like how it looks.)


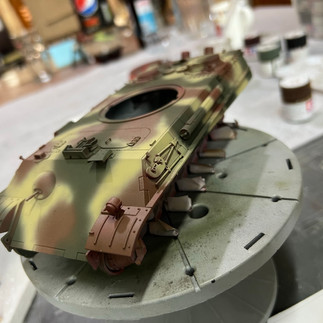
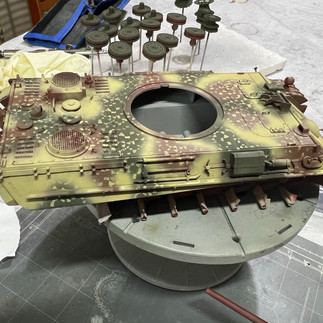
For the camo I used the standard tamiya colours: Dark Green II, Dark Yellow II, and Red Brown.


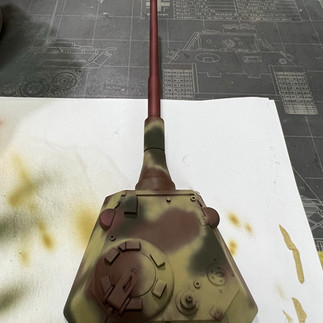
Several years ago I have bought Ushi's mask for a sepcial German camo pattern, the so-called disc camouflage.

(Source: leadadventures.com)
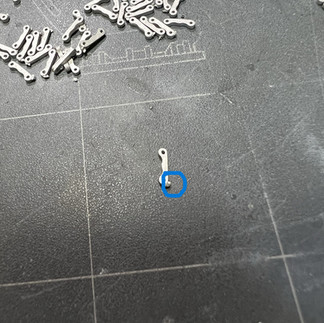
And here is the masking solution from Ushi:

As most of the time with the aftermarket products designed for a sole purpose it is really easy to use: it is what it says on the tin. Self-adhesive masking tapes that you can apply on the kit while airbrushing that you can then peel off afterwards.


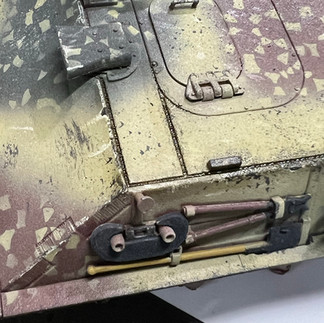
The chipping and weathering process was the same as what I usually do: gloss varnish to create a super-smooth surface for the decals and help the oil pin wash. Chipping and scratches were created by a fine brush and a small piece of sponge. Matt coat applied then to protect the fine work.


If you have read my previous build reviews you probably have learnt by how obsessed I am with Friul tracks. Yes, they are pricy but they make a true difference in my view.
As Panther II. had a completely different running gear compared to the original Panthers, the tracks were completely new to me: Friul provides a small tool to help you to line up the smallest part with the bigger ones and pin them together. Be careful though, that tiny parts requires some sanding.


The wheels got some Vallejo earth texture to create an impression of mud stuck on them, while the tracks were burnished. After completion all this was fine tuned with pigments and a bit of overspraying of tamiya acrylic paint to blend the colours of mud, dust and all sort of dirt.


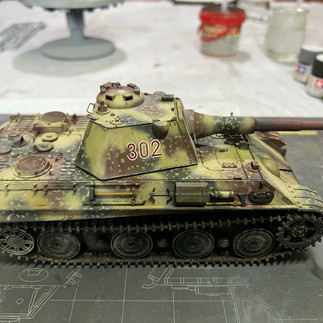

No surprise, it was a real pleasure to build this kit all along. Ushi's masks are great, Friul tracks are awesome, the end result is just what I had hoped for. Can you wish for more?
Here are a few of the final photos, but more is in the gallery.


