
A veteran at the end of the war
- Tamas Seres
- Jan 27, 2024
- 3 min read
I kicked off 2023 with an ambitious aim to turn it into the 'Year of the Panther': don't build anything else, but different variants of this vehicle. Although I have changed my mind later (half way through the year) this project fitted really well into the concept back in April.
During my exploration I have seen a few photos of early Panthers (ausf. D's) that were originally used for training purposes, but when the end of the war was close they were re-deployed to fighting formations. I thought to build one of those.
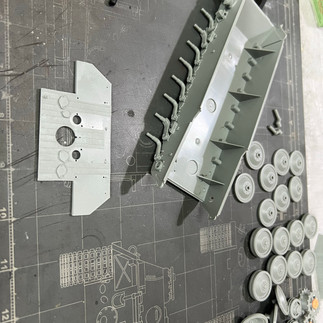
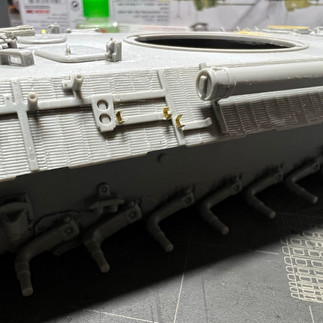
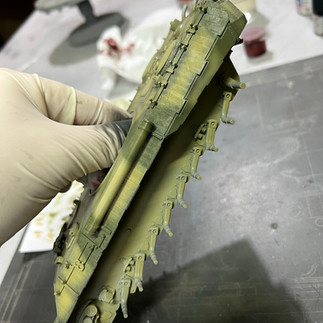
The selected kit was one from dragon (https://www.super-hobby.co.uk/products/Pz.Bef.Wg-Panther-w-Zimmerit.html) that seemed to be offering the perfect solution for my plans. When I opened the box I found out that there is no zimmerit on the lower hull, so I had to make it myself using some putty.

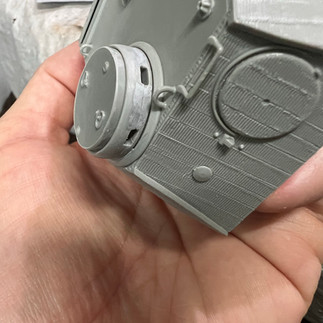
The kit comes with some 3D printed parts. I am not sure the reason for that as I believe they could have been moulded from the plastic as all other parts and no one would spot the difference. Anyway, it is what it is, there's no reason to complain.


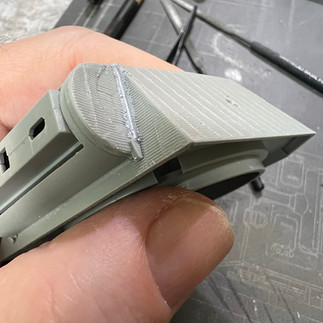
The moulded-on zimmerit makes the build usually much easier as we don't need to scratch-make this rough layer of anti-magnetic protection. However, it is often too perfect, it has too sharp edges and gaps where the parts meet. Therefore, a bit of filling won't hurt and help creating more realistic appearance.


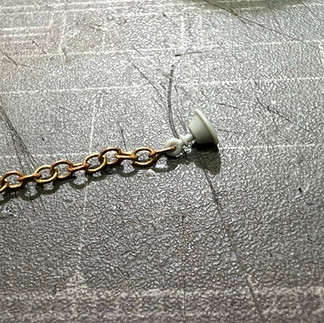
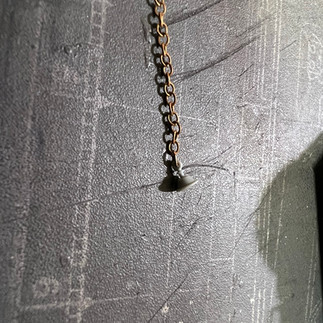
The movable plug for the pistol port is a nice touch, but the chain feels quite out of scale to me.


The overall fit of the kit is pretty good, we are used to it from Dragon. However, the commander's cupola is and exception. It requiers a lot of sanding and filling .


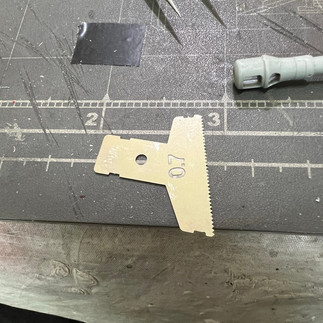
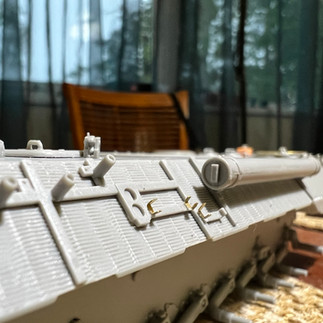
The kit comes with basic PE grills for the engine deck. However, I had some some left-over parts in my stuff that I could use for this model. My plan was to display a tank in the end of the war with majority of the tools already lost. The holder of the fire exhaust from another kit, some other holders were scratch-made.


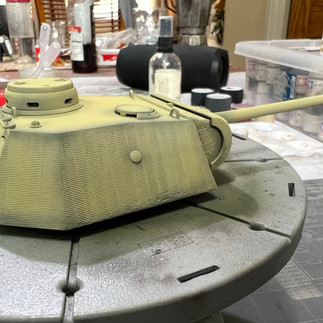
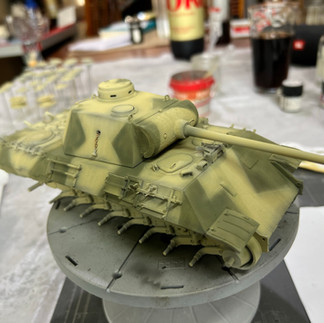
After priming with light grey (Tamiya rattlecan) some pre-shading was done. I haven't taken photos of this stage, but it's exactly the same thing I used for other kits earlier. It was then followed by the main colour (dark yellow).


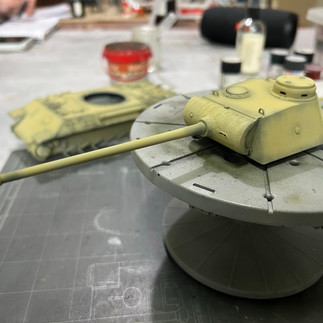


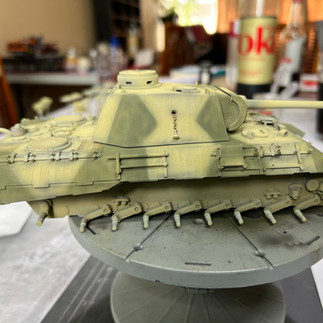
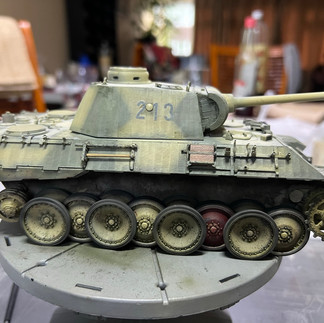
The dark green camo was next. I tried to apply rather large patches to imitate a late-war field appied camo.


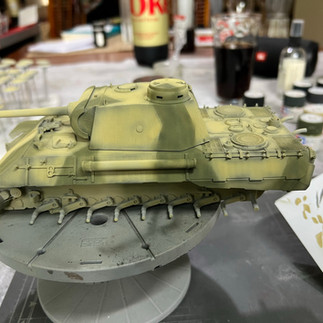
The main colours were then softened by applying lighter variants of their original shade.


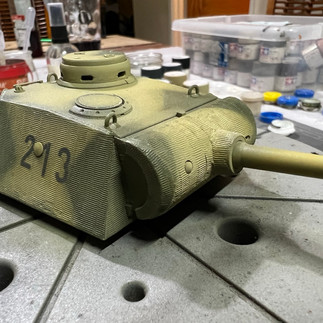
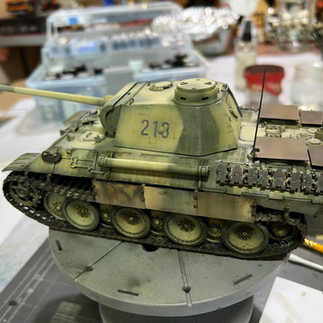
A coat of gloss varnish was added so as the decals would fit well. This is quite crucial to make sure there is no air left underneath as I have to create the impression the turret numbers are painted.


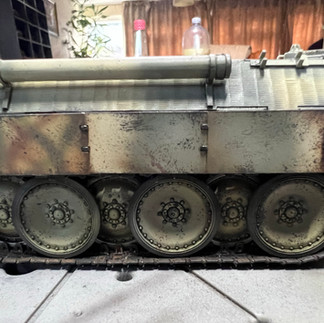
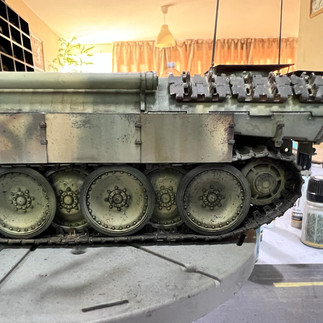
One of the stoawage boxes and a running wheel has recently been replaced on this tank. This happened often with fighting vehicles and in the end of the war and sometimes there was no time to paint them. They were put their final place in their red-oxyde prime colour.


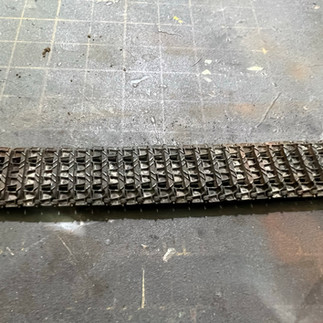
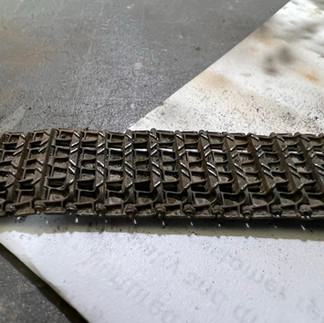
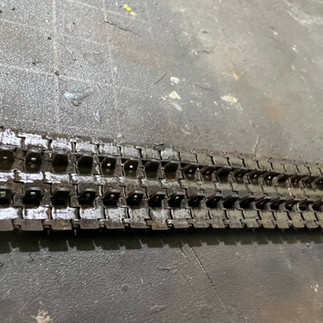
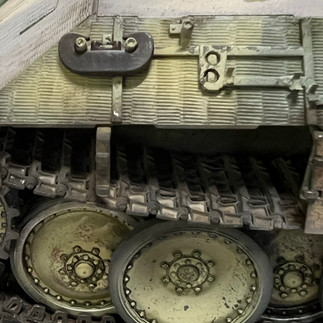
After a few layers of matt varnish the usual tasks were completed: painting the details, weathering the hull, adding the chipping...etc. The tracks were replaced with Friul ones, I am ultimate fan of those when it comes to a panther model.

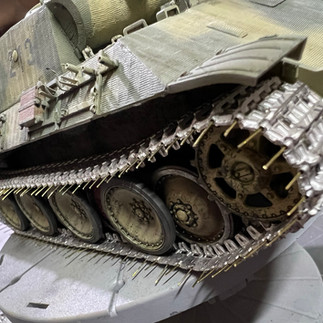


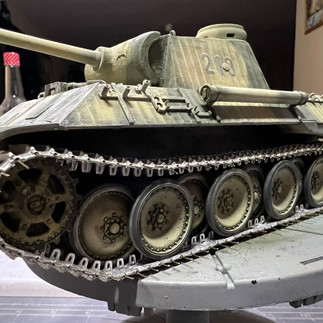


The skirt armour was next to come. To make the vehicle more live I decided to make one of them like if it was taken from a different vehicle with a different camo.

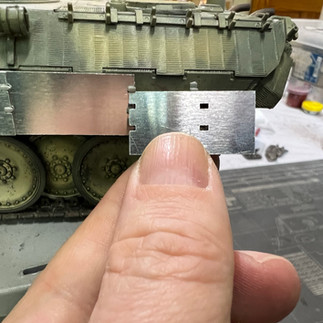


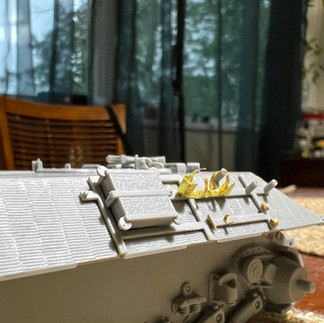
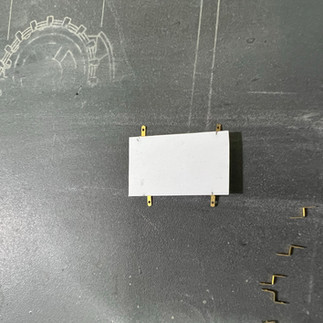
On a few Panther ausf G's the crew applied an anti-aircraft armour above the engine grills as these were often exposed to attack coming from above. These were spotted rather at the end of the war, so I thought it would be a nice touch to indicate, that even though this tank was produced in January 1944, its current shape is rather a late war version. As the kit did not came with these arm plates I had to make them from scratch.


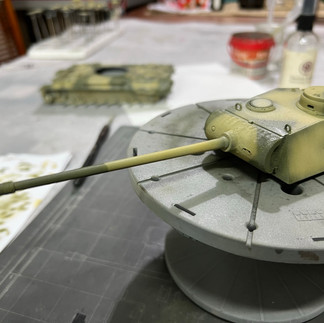
To complete the commander Panther I had to add the antennas and the final weathering touches, oil filters to the side skirts. I had a small accident at this stage: I dropped the turret... Luckily, it wasn't a difficult fix, I only needed to replace the aerial.


This build was a good fun and I could even experiment with a few things during the process. The kit itself is quite good (except the commander's cupola), you can build a fantastic ausf D from it.
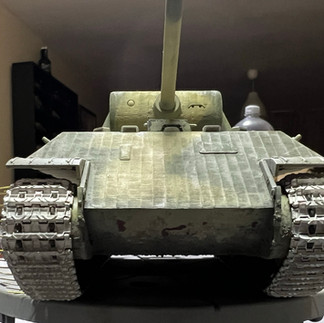
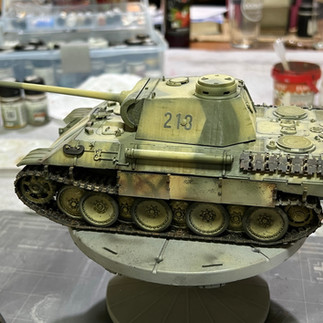
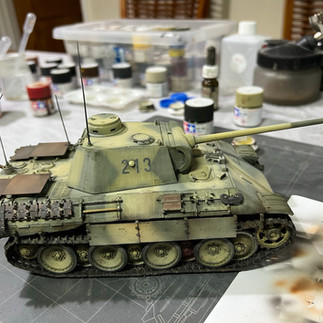
Here are a few pics of the completed tank, but more available in the gallery.


Comments